Categories
House Inspection

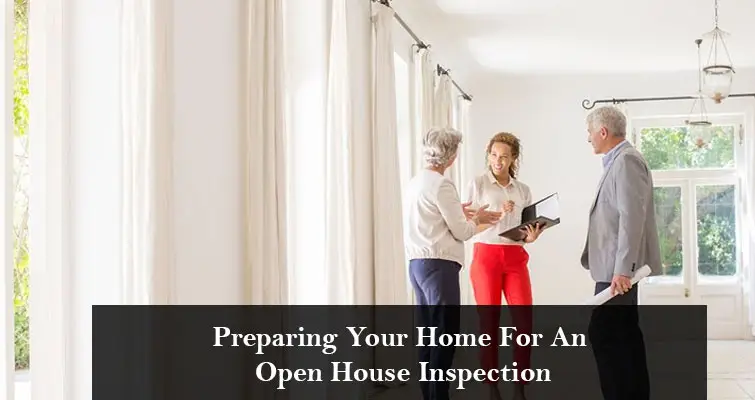
Preparing Your Home for an Open House Inspection

First impressions count when it comes to open inspections. The expert team of real estate agents behind Minus The Agent have had years of experience guiding sellers through the process of preparing for open house inspections. It is important to prepare for an open house inspection to present your property in the best possible light to maximise the opportunity for find the right buyer. Attracting potential buyers with the open house inspection is critical in achieving a higher sales price and selling in a quicker timeframe.

It can seem overwhelming, so we have compiled the best advice that we give to our clients in order to help streamline your preparations to make your property appealing for new buyers and effectively focus your attention.

Make a First Impression

Clean and De-Clutter

Your home probably has a lived-in feel right now as it has been your home for many years. When buyers are walking through your property, they want to visualise themselves living in the space. Before your home inspections begin, clean your home from top to bottom. Declutter and tidy inside cupboards, clean the oven, clean window frames and skirting boards, clean underneath and behind furniture and all the hard to reach places that may not be a part of your regular cleaning routine. Consider getting your carpets professionally cleaned so they are bright and don’t have any lingering smells. Once your home has been deep cleaned, it will be easier to maintain and just require a quick tidy up and refresh before each inspection.

In preparing your home, make any easy and obvious repairs to the property that would be off-putting to buyers. For example, leaking taps, cracked glass, broken light bulbs, holes in the walls and broken tiles are all quick fixes that will help you make a good first impression.

You want buyers to walk through the property and fall in love, easily visualising themselves in the space. Remove any personal items such as photographs or ornaments and pack them away for the inspections. Depersonalise the space so that buyers can see it as their new home.

Light and Air

Buyers are attracted to light and airy spaces. Prepare your space to allow for fresh air and natural light to enter the property. Open your home regularly leading up to open inspections to air out the space. Fresh air flow will remove mustiness and lived in smells. Avoid cooking meals with overpowering and lingering scents, and carefully clean up any areas that pets use as lingering scents from pets can be particularly off-putting for buyers. Artificial scents like air fresheners or candles are not recommended as they can leave a negative impression on buyers. In addition to letting fresh air flow through your property, consider an air diffuser with a fresh and natural essential oil blend.

Allow natural lighting wherever possible so rooms feel more spacious and alive. Consider removing curtains and drapes during the open inspection period if they are reducing the light. In the lead up to the inspection, open all blinds, curtains and shutters.

Style Your Home

Consider removing some of your furniture and only leaving key neutral pieces, and removing or covering bright ornaments and wall coverings. Many sellers consider staging consultants. Advice or a package with staging consultants can assist in making your home more appealing and have an impact on the final sales price, however can be expensive.

Increase Curb Appeal

Repair any broken light bulbs, clean the front windows, remove any cobwebs and even consider a fresh coat of paint on the front facade of your house.

Final Touches on the Day

Turn on your air conditioning or heating so the property is inviting depending on what the weather is doing outside.

During the Inspection

It is best to make yourself scarce during the inspection. Prepare to to leave the home and take other family members or pets with you during the time that the potential buyers will be walking through your space. You want them to feel relaxed and feel as though they can take their time and visualise themselves in the space. If you are coordinating the open home without a real estate agent, welcome the guests but them stay in one place without hovering over the buyers. Allow them to walk freely through the space, but be able to find you easily if they have questions.

Open home are all important when it come to selling your property. At Minus The Agent, our expert real estate agents provide advice and support throughout the process of selling your home. You can save thousands in agent fees by listing your property with Minus The Agent on our easy to use platform, while also having the peace of mind knowing that you have real estate agents in your corner to guide you through the process of preparing for open home inspections.

Try Minus The Agent now with our Free Trial
Categories
Selling Property

How to Take Great Real Estate Photos

In the digital era, the majority of buyers are purchasing a property that they found online first. Online property investors are attracted to striking photographs and this can dramatically speed up the buying process. High quality real estate photography can make your property sell 32 times faster than a property with low-quality or unappealing photography. Days on the market can be reduced with high quality photography that showcases the best attributes of your property.

Over 3 million people visit realestate.com.au every month, so a listing with stunning photography of your property can make your listing stand out from the rest.

If your property doesn’t present well online, there is less of a chance that the buyer will take the next step of booking an in-person inspection.

At Minus The Agent, we facilitate online listings for our clients and have seen thousands of online listings posted through our platform. These are out top tips for optimising your online listing with high quality professional photography.

1. Plan your photoshoot and schedule enough time

Generally, a real estate listing will have the following shots:

  • 2 wide angle shots of each bedroom, the kitchen and the living room.
  • 1-3 photos of the backyard unless it has some unique features.
  • 1-2 shots of the front of the home to show off the ‘curb appeal’.
  • 1 shot each of features such as laundry room, garage, and pantry.

Take a walk through the property and plan the best angles and positions to get the shots you need for the listing. Schedule an appropriate amount of time for the photoshoot to ensure you are are happy with photos.

2. Organise your equipment

Are you going to hire a professional photographer or DIY the photoshoot? If you are going to take the photos yourself it is important that you have the right gear. While modern phone cameras can take excellent photographs, it does pay to borrow or hire a professional DSLR camera to get high quality imagery. You will also need a few different options for lenses, a tripod to steady the camera and a flash to create diffused light effects.

3. Clean and declutter your property

It is important that potential buyers or renters can visualise themselves in the property. While your property may be lived in and homely, when it comes to professional real estate photography the property must present as clean and clutter free. Remove magnets from the fridge, clean clutter from all surfaces, hide toothbrushes and decor on counters, clean the mirrors, put down the toilet lid and remove all of the clutter that builds up over time in a lived-in property. Your property will look fresh, spacious and clean in the photography after being cleaned and decluttered.

4. It’s all about the lighting

For example, you can create an ambient diffused light effect by positioning the the flash towards a rear wall or to the ceiling to bounce the light throughout the room.

5. Make the most of different shooting techniques

If you scroll through real estate listings on realestate.com.au or Domain you will notice that the real estate photography makes use of different techniques to showcase the best features of the property. Some of these techniques includes using unique points of view (POV) as shooting low can help to showcase the full breadth and length of a room and highlight how spacious the space is. Balancing the the composition with a foreground, a middle-ground and a background creates depth and results in a compelling image. Making the most of shooting techniques can create interesting and striking images that highlight the best features of your property.

6. Add the finishing touches in post-production

Post-production is the most important step in the process. Using programs like Adobe Lightroom or Photoshop to touch up your images is essential to create beautiful digital images. Play around with the saturation and the exposure to make your images look warm and inviting.

The real estate rental and buying markets are highly competitive, and with potential buyers scrolling though a multitude of listings online it is important that your listing stands out from the pack. High quality photography is essential to showcase your property and get you the best results when you are listing a property online for rent or for sale. At Minus The Agent, our real estate customer service team are experts in creating effective real estate listings.

We take the hassle out of buying, selling or renting property. Our easy and efficient platform means that you can create your own online listings on all the major real estate websites without thousands of dollars of agent commission fees. You are supported by a team of real estate experts to guide you through the process and maximise your results.

Trial Minus The Agent now!